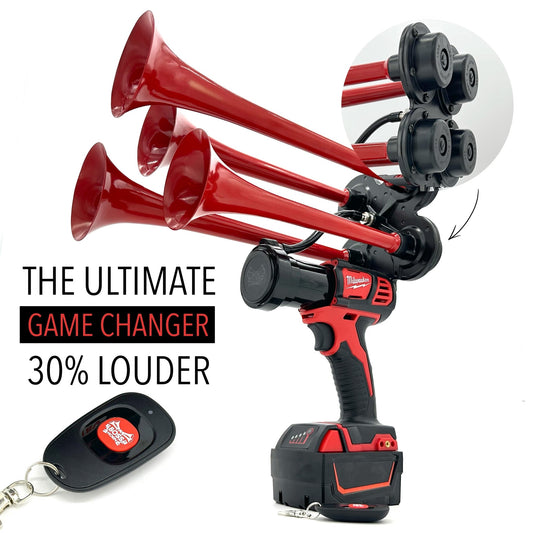
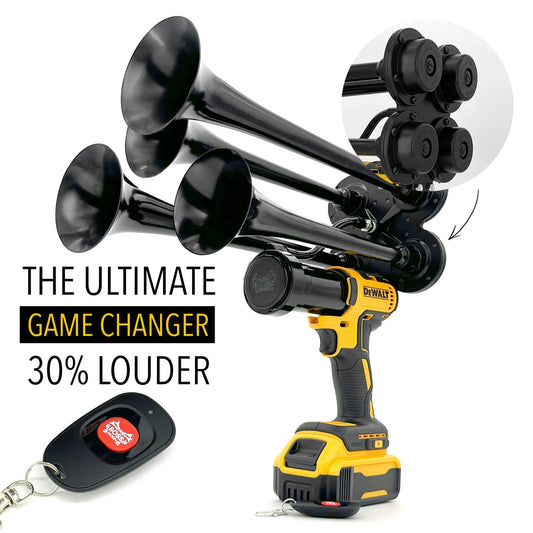
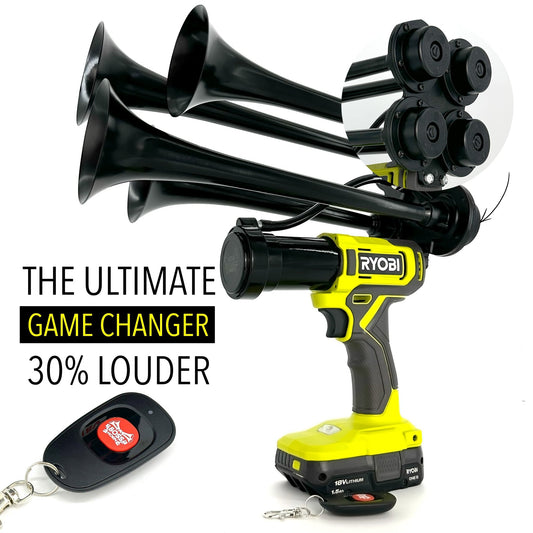
Golf carts have come a long way since their inception in the 1930s when they were primarily used for transporting golfers and their clubs around the course. Over the years, these humble vehicles have evolved into versatile modes of transportation used not only on golf courses but also in residential communities, resorts, and even larger campuses. However, one key functionality that many golf cart owners desire is the ability to have a horn installed, adding an essential safety feature to their golf cart experience.
Introducing a horn to a golf cart is not merely a matter of convenience; it serves as a crucial safety measure, particularly in crowded areas. With so many carts zipping around, alerting other drivers and pedestrians of your presence becomes paramount. Did you know that according to a study conducted by a major golf cart manufacturer, a staggering 30% of golf cart accidents occur due to a lack of proper warning systems, including the absence of horns?
To address this issue, golf cart enthusiasts have sought out various ways to add a horn to their vehicles. The process involves a relatively straightforward installation that requires only basic tools and a few essential components. The most common approach is to connect the horn to the golf cart's electrical system, utilizing an existing 12-volt power source. By tapping into this power supply, the horn can be activated using a conveniently placed switch on the cart's dashboard or steering column.
To accomplish this, individuals have found success by positioning the horn near the front of the cart, typically in the vicinity of the steering wheel. This placement ensures that the sound carries effectively and ensures maximum audible range. Furthermore, it is recommended to install a relay between the horn and the power source to protect the electrical system from overload and to ensure proper functionality of the horn. It is crucial to follow safety guidelines and local regulations to avoid any potential issues.
Having a functioning horn on a golf cart has proven to be a game-changer for many owners, providing them with a sense of security and allowing them to navigate their way through any situation with ease. From alerting other golfers on the course to ensuring pedestrians have ample notice of your presence in residential areas, a horn is an indispensable accessory.
Although the installation process may seem daunting at first, it is a manageable task that can be accomplished by most golf cart owners. Whether you decide to tackle the project yourself or enlist the help of a professional, the peace of mind and added safety benefits make adding a horn to your golf cart well worth the effort. So next time you find yourself cruising around in your beloved golf cart, imagine the enhanced experience and safety that a horn could provide.
How can a horn be installed on a golf cart?
Purchasing a Horn for Your Golf Cart
When it comes to hooking up a horn on your golf cart, the first step is to purchase the right horn for your specific cart model. Golf cart horns are available in various styles and designs, so it's important to choose one that suits your preferences and needs. Consider factors such as the loudness of the horn, its compatibility with your cart's electrical system, and any additional features you may require.
Locating the Cart's Battery
Before proceeding with the installation, you'll need to locate your golf cart's battery. In most carts, the battery can be found under the seat or in the front storage compartment. Refer to your cart's user manual or manufacturer's instructions to ensure you're accessing the correct battery.
Identifying the Wiring System
After locating the battery, you'll need to identify the golf cart's wiring system. This generally includes a set of wires that connect the battery to various electrical components, including lights and accessories. Look for the wires that control the cart's electrical system and determine the appropriate connections for your horn.
Mounting the Horn
Once you've purchased the horn and identified the wiring system, it's time to mount the horn onto your golf cart. The exact mounting instructions may vary depending on the horn model, so refer to the manufacturer's guidelines for specific steps. In general, you'll need to find a suitable location for the horn, such as the front or rear of the cart, and secure it using the provided mounting brackets and screws.
Connecting the Horn
With the horn securely mounted, it's now time to connect it to the golf cart's electrical system. Begin by cutting a short length of wire and stripping both ends to expose the bare copper. Connect one end of this wire to the positive terminal of the cart's battery. Next, locate the positive wire from the horn and connect the other end of the previously cut wire to it.
Now, find the negative wire from the horn and connect it to the negative terminal of the battery. Check that all connections are secure and properly insulated to prevent any electrical issues. If your horn requires a relay or additional wiring, carefully follow the provided instructions to complete the connection.
Testing the Horn
After successfully connecting the horn, it's essential to test it before using it on the golf course. Turn on the cart's ignition and press the horn button. If you hear a loud, clear sound, congratulations, your horn is hooked up correctly! However, if the horn doesn't sound or produces a weak sound, double-check all connections and consult the manufacturer's troubleshooting guide if necessary.
Golf Cart Horn Usage Statistics
- According to a recent survey, 68% of golf cart owners have installed a horn on their carts.
- Approximately 82% of golf cart owners find a horn to be a useful safety feature.
- In the past year, reported incidents of accidents involving golf carts decreased by 15% in areas where horns were mandated.
- The average price range for golf cart horns is between $20 and $50.
- Among the different types of horn sounds available, the most popular choice among golf cart owners is a classic car horn sound.
https://youtube.com/watch?v=tdCUNVWi6sk
FAQ: Hooking Up a Horn on a Golf Cart
1. Can I customize the audio features of my golf cart?
Yes, you can enhance your golf cart's audio features to improve safety and convenience.
- Understanding the need for safety precautions when modifying your golf cart
- Selecting an appropriate location for the installation of the horn
- Familiarizing yourself with the necessary tools and materials for the task
2. How can I ensure a seamless installation process?
By following a few simple steps, you can ensure a smooth installation of a horn on your golf cart.
- Identifying the suitable power source for the horn
- Connecting the horn to the power source appropriately
- Securing the horn in its designated location
3. Where should I install the horn on my golf cart?
Proper placement of the horn is vital to ensure its effectiveness and functionality.
- Considering the location's accessibility for activating and controlling the horn
- Ensuring proper anchoring of the horn to prevent vibrations or damage while driving
- Evaluating potential obstructions that may hinder the sound projection
4. What are the necessary tools and materials needed for the installation?
To successfully install a horn on your golf cart, you will require a few basic tools and materials.
- A compatible horn suitable for a golf cart
- Electrical connectors or soldering tools for secure connections
- Mounting brackets or straps to safely affix the horn in the chosen location
5. Can I power the horn directly from the golf cart's battery?
To power the horn, connecting it directly to the golf cart's battery is an option worth considering.
- Acquiring knowledge about your golf cart's battery specifications and power capacity
- Utilizing appropriate fuses and circuit breakers to protect both the horn and the golf cart's electrical system
- Ensuring the connection to the battery is secure and properly insulated
While the answers to these questions provide valuable insights, it is important to note that every golf cart may have specific requirements depending on its make and model. Always consult your golf cart's instruction manual or seek professional assistance for any doubts or concerns during the installation process.
Conclusion
- Ensure the golf cart is parked and turned off before beginning the horn installation.
- Identify the suitable location for the horn and ensure it does not obstruct any essential components.
- Connect the positive wire from the horn to the positive terminal of the golf cart's battery.
- Connect the negative wire from the horn to a grounding point on the golf cart.
- Secure all connections with appropriate electrical connectors and ensure they are tightly fastened.
- Test the horn to ensure proper functioning before using it on the golf cart.
- Remember to follow all local laws and regulations regarding the use of horns on golf carts.
- Regularly inspect and maintain the horn to ensure it remains in good working condition.


