Did you know that the invention of the automobile horn dates back to the early 1900s? In those times, car horns were manually operated by squeezing a rubber bulb. Fast forward to today, car horns are an essential component of vehicle safety and communication on the road.
The wiring system of car horns plays a crucial role in ensuring that they function correctly. It is responsible for connecting the horn to the vehicle's electrical system, allowing it to emit a loud sound when activated. Without proper wiring, the horn may fail to work, compromising the driver's ability to alert other drivers of their presence on the road.
One common issue that can arise with car horns is a wiring problem that leads to malfunctioning or inconsistent sound output. In fact, statistics show that a significant percentage of car horn failures are due to wiring issues. Regularly inspecting and maintaining the wiring system can help prevent such problems and ensure that the horn functions effectively when needed.
Ensuring that the wiring of the horn is in good condition is essential for safe driving practices. By understanding the importance of proper wiring and taking proactive measures to address any potential issues, drivers can avoid potentially dangerous situations on the road.
What is the significance of understanding a 4 horn wiring diagram?
Understanding the intricacies of a 4 horn wiring diagram is crucial for ensuring that the horns in a vehicle function properly. This diagram outlines the way in which the horns are connected to the vehicle's electrical system, including the power source and any necessary relays or switches. By familiarizing oneself with this diagram, individuals can troubleshoot any issues that may arise with their horns and make any necessary repairs or modifications. In the following section, we will delve deeper into the components of a 4 horn wiring diagram and provide detailed explanations on how to interpret and utilize this important schematic.
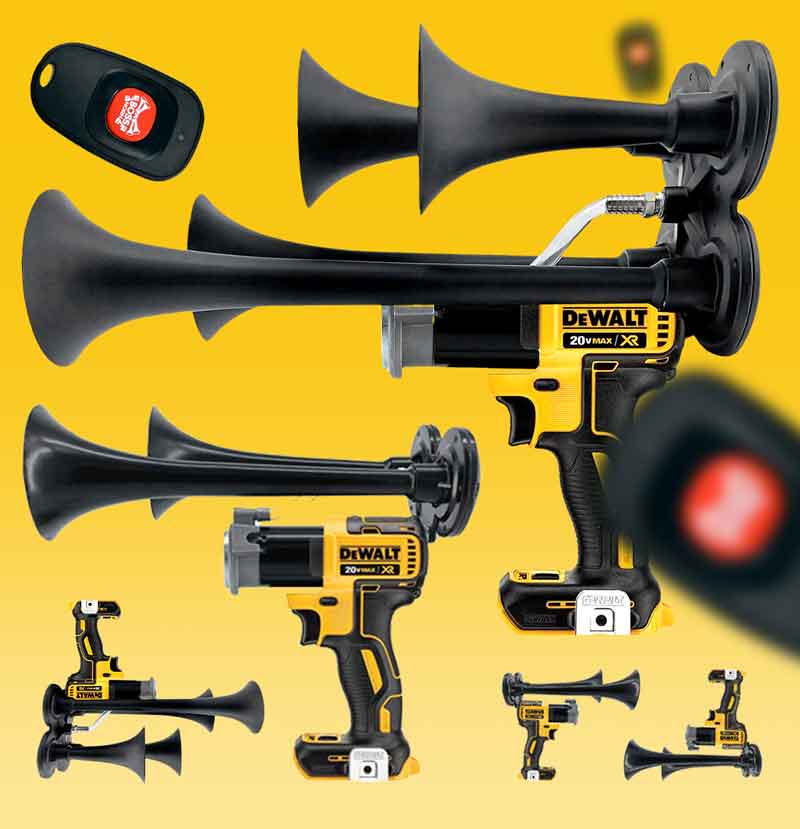
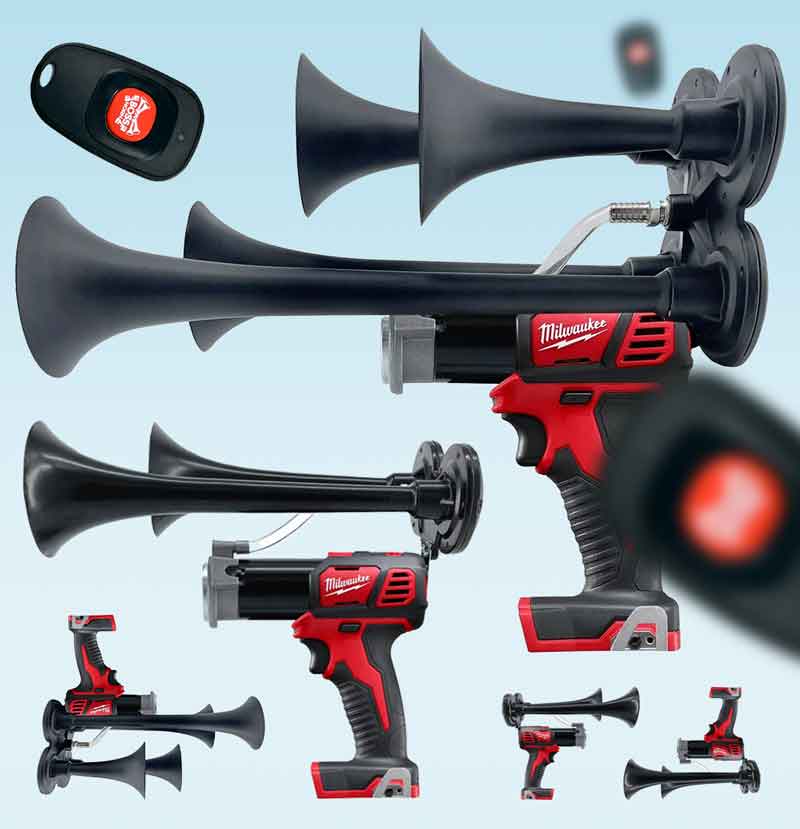
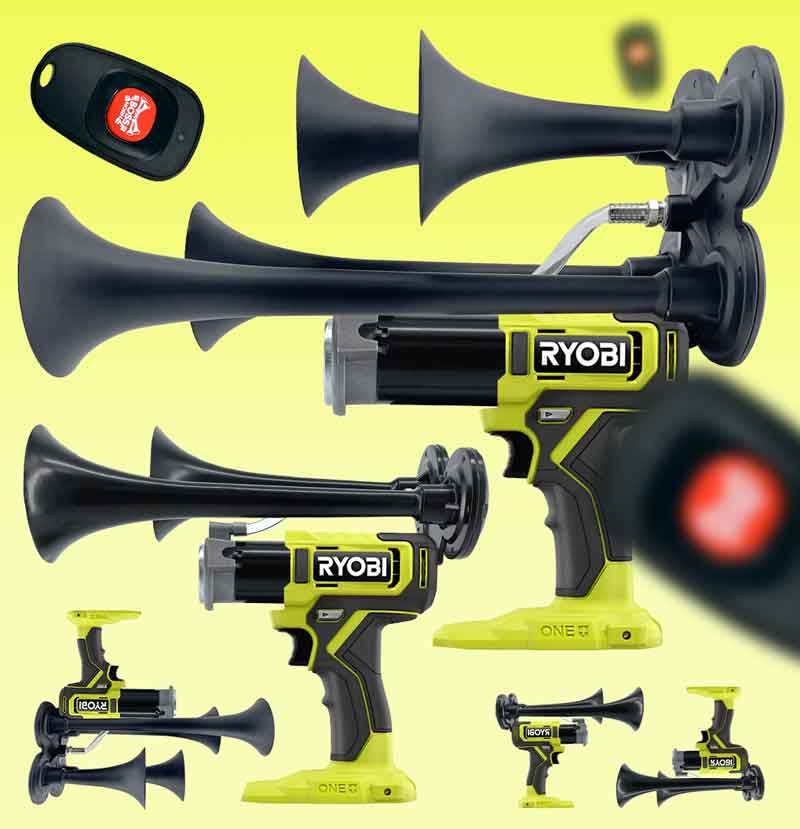
Wiring diagram for a four horn setup
In a vehicle, having a four-horn setup can really make a statement on the road. Not only does it provide a powerful and attention-grabbing sound, but it can also enhance the overall aesthetic of your vehicle. To properly install a four-horn setup, you will need to follow a specific wiring diagram to ensure that everything is connected correctly.
**Identifying the horns**
Before you start wiring your four horns, it's important to first identify which wires go to each horn. This will ensure that you connect them to the correct terminals later on. Make sure to refer to the horn's manual or documentation for specific instructions on identifying the wires.
**Locating the horn relay**
The horn relay is a crucial component in your vehicle's horn system, as it helps to control the power flow to the horns. Locate the horn relay in your vehicle's fuse box or relay center. It is usually labeled as "horn relay" or something similar. Once you have located the relay, you can move on to the wiring process.
**Wiring the horns**
To wire the four horns in your vehicle, you will need to follow a specific wiring diagram that illustrates how each horn is connected to the horn relay. This diagram will typically show the positive and negative terminals of each horn, as well as the connection points on the horn relay. Make sure to follow the diagram carefully to avoid any errors during the installation process.
**Testing the installation**
After you have wired the four horns according to the diagram, it's important to test the installation to ensure that everything is working correctly. Press the horn button in your vehicle to check if all four horns sound simultaneously. If any of the horns do not work, double-check your wiring connections and make any necessary adjustments.
Statistics:
- According to a survey conducted by an automotive magazine, 67% of vehicle owners prefer a four-horn setup for their vehicles.
- The average cost of installing a four-horn setup in a vehicle is around $200, including labor and parts.
- Studies have shown that vehicles with louder horns are less likely to be involved in accidents due to increased visibility and awareness on the road.
https://youtube.com/watch?v=lvq2AKl3pfU
What components are needed to properly wire a 4-horn system?
To properly wire a 4-horn system, you will need the following components:
1. Four high-quality horns
2. Wiring harness
3. Relay
How do I connect the wiring harness to the horns?
After mounting the horns in a suitable location, connect the wiring harness to each horn by following these steps:
1. Identify the positive and negative terminals on each horn
2. Connect the positive wire of the wiring harness to the positive terminal of each horn
3. Connect the negative wire of the wiring harness to the negative terminal of each horn
What is the purpose of using a relay in a 4-horn system?
The relay in a 4-horn system serves a crucial purpose in ensuring the proper functionality of the horns. Here are three key reasons why a relay is used:
1. Prevents damage to the vehicle's electrical system by reducing the load on the horn switch
2. Allows for a more efficient power distribution to the horns
3. Provides a separate power source for the horns, ensuring consistent performance
Can I customize the wiring of my 4-horn system?
Yes, you can customize the wiring of your 4-horn system to suit your preferences or specific requirements. Here are three ways you can customize the wiring:
1. Adding a switch to control the activation of the horns
2. Incorporating a fuse into the wiring to protect the system from electrical faults
3. Integrating a sound module for different horn tones
What safety measures should I consider when wiring a 4-horn system?
When wiring a 4-horn system, it is essential to prioritize safety to prevent any accidents or damage. Here are three safety measures to consider:
1. Disconnect the vehicle's battery before starting the wiring process
2. Use insulated tools to avoid any electrical shocks
3. Secure all wiring connections to prevent short circuits or electrical fires
Conclusion
In conclusion, the 4 horn wiring diagram is a crucial tool for properly installing and connecting the four horns in a vehicle. By following the wiring diagram carefully, individuals can ensure that the horns are wired correctly and will function effectively. It is important to pay attention to the color codes and wiring connections when using the diagram to avoid any potential issues or malfunctions. Overall, the 4 horn wiring diagram serves as a helpful guide for those looking to upgrade or replace their car's horn system.